Toolbar is the place where we can hold all the tool together.
Lets Create a toolbar
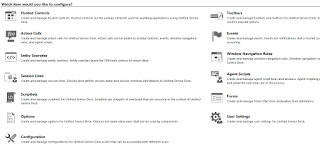
1. Select "Toolbars"
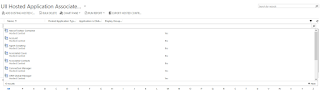
 2. Click "New"


Lets Create a toolbar
1. Select "Toolbars"


3. Enter all the fields.
---Name is mandatory and we can give any name
---Order is optional. If we give order it will show this Toolbar by order on USD Screen.
---Title can be any name
---Enable Condition- We can give condition like(i==1) if it is true then it will Enable on USD Screen.
---Display Condition--It will display based on Condition. if it is false then it will not display on USDScreen.
To add buttons click on" +"

4. Give Name
--Image can be added from Webresource
--Button Text will be the Display name for button.
--Order will be considered as order of button in Toolbar.
--Tooltip is mouse over text
--ShowTab will Focus the given Hosted Control.
--Enable Condition- We can give condition like(i==1) if it is true then it will Enable on USD Screen.
--Display Condition--It will display based on Condition. if it is false then it will not display on USDScreen
After Save
--Add Action call to the Button. to add Action Calls click on "+"

5. Search for Action call if already exist. if No, Create new Action Call by Clicking "new" at Corner

6. We can see Action Calls are Added .

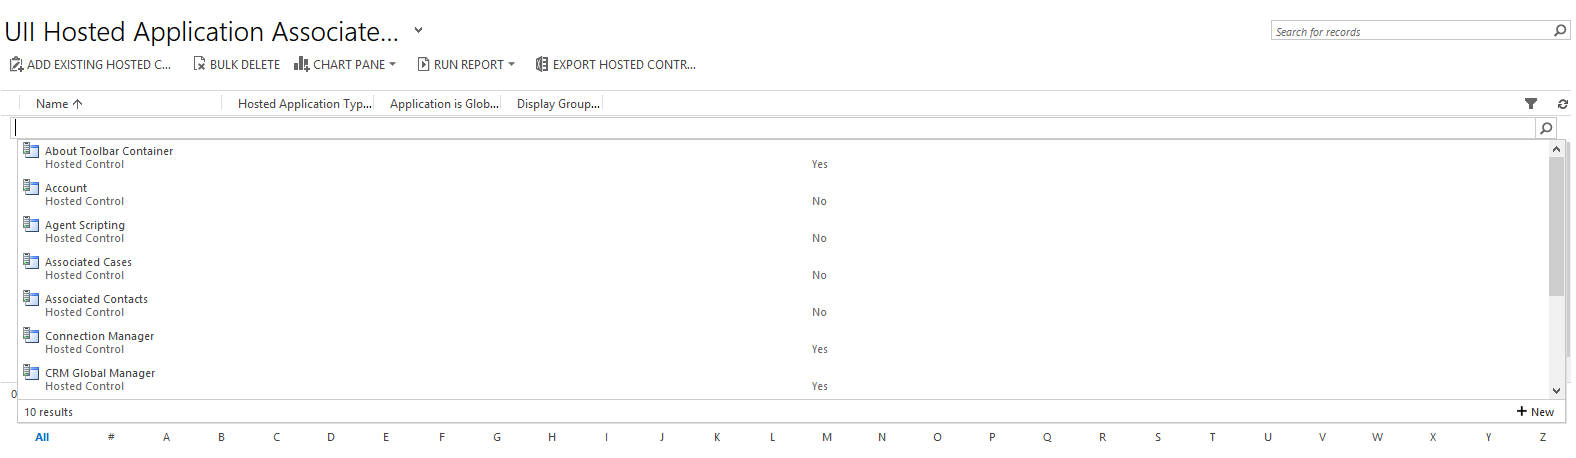
7. To Add Toolbar to Hosted control In navigationbar click on Down Arrow and Select Hosted Controls.

8. Select the Hosted Control to which we want to Add buttons.
Generally it can be Toolbar container hosted Control. But we Can be add to any Hosted Control.
9. We Can see the buttons which are added under Dashboard

No comments:
Post a Comment